
Beginner’s Guide to Vim: The Basics


Welcome to the beginner's guide to Vim!
Since this is a complete beginner's guide, it makes sense to start with the question: why even use Vim in the first place? You've got Atom, VSCode, Sublime, Gedit, and even Nano. What makes Vim worthy to use above all of them?
- Vim opens directly in the terminal. So no more hunting around for the right window when switching between coding and compiling.
- It's pre-installed on pretty much any shell. So you can use it on any machine with a terminal.
- It’s endlessly customisable. Seriously, every feature can be edited to suit your habits.
- Your hands basically never leave your keyboard. All the functionality you could want is just a couple keystrokes away. This is great if you’re lazy like me :)
But I reckon the best thing about Vim is being able to progressively discover new commands and shortcuts that elevate your way of typing. And with every new trick in your toolbox, you feel just a little bit more hackerman. So the point of this guide isn't to teach you everything there is to know about Vim - that's up to you. The point of this guide is to ease the learning curve when it comes to starting your Vim journey, and introduce just some of the possibilities you can find down the road.
So what are you waiting for?
TLDR: check out the 14 essential commands you need to get around Vim!
Opening (and closing!) a file
Opening a file in Vim is fairly straightforward. Open the terminal and navigate to the directory in which you'd like to create your new file. Now type this into your command line:
vim <filename>
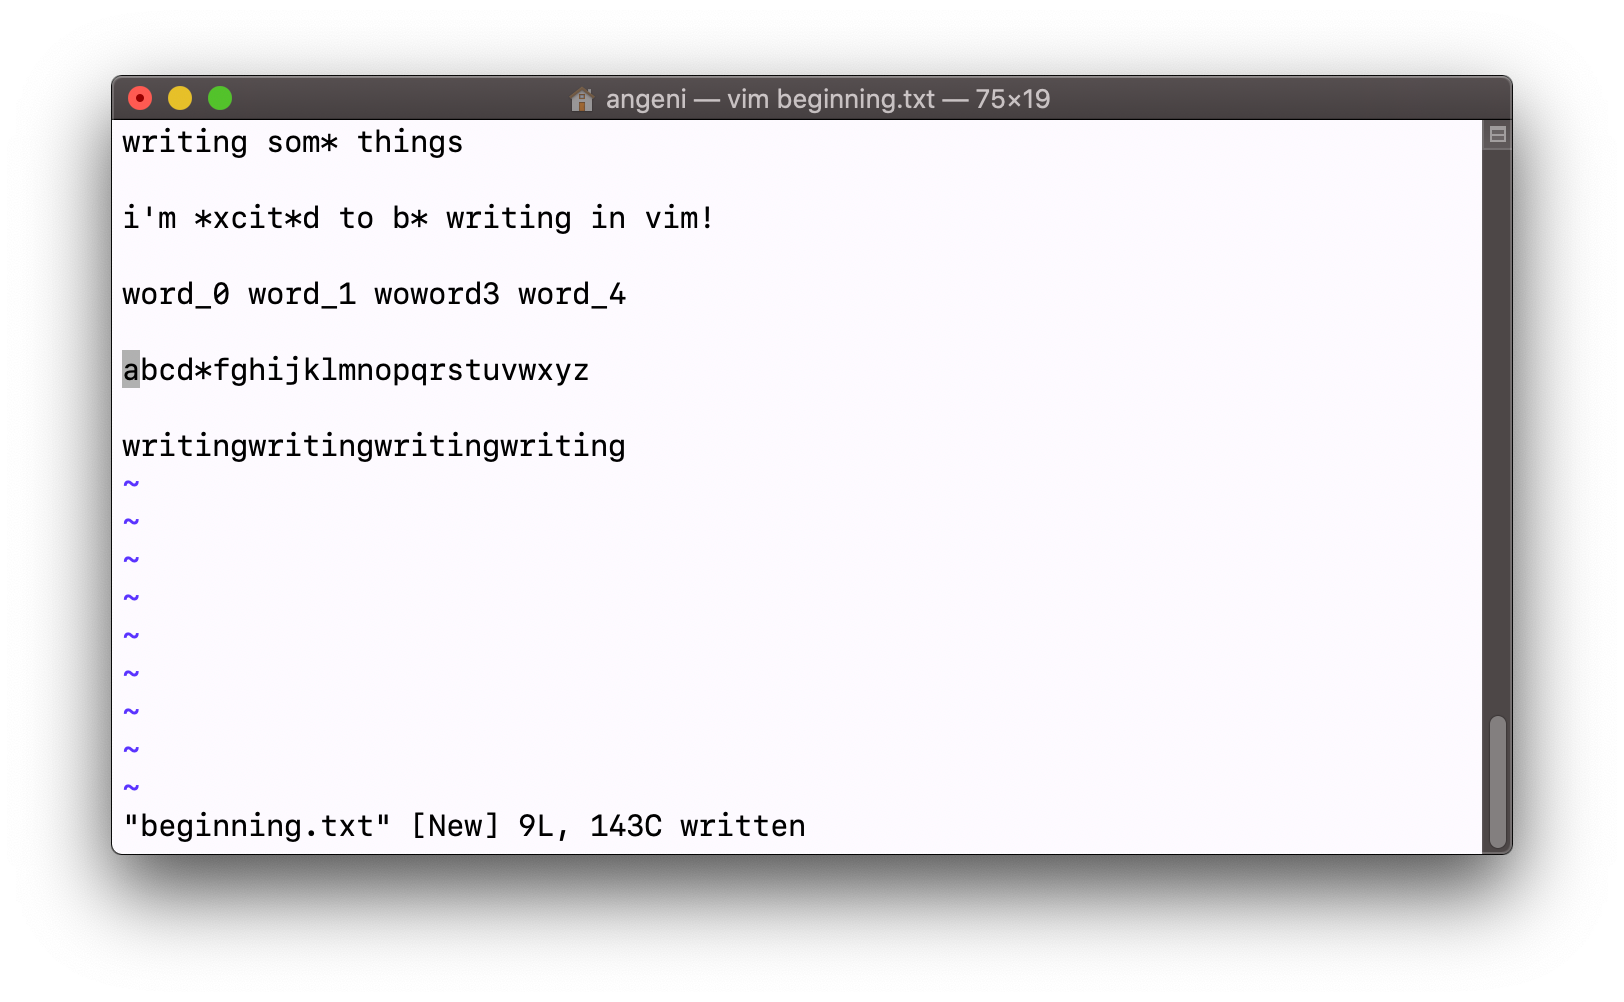
And that's it! Your terminal should open to a brand new Vim file which looks like this:
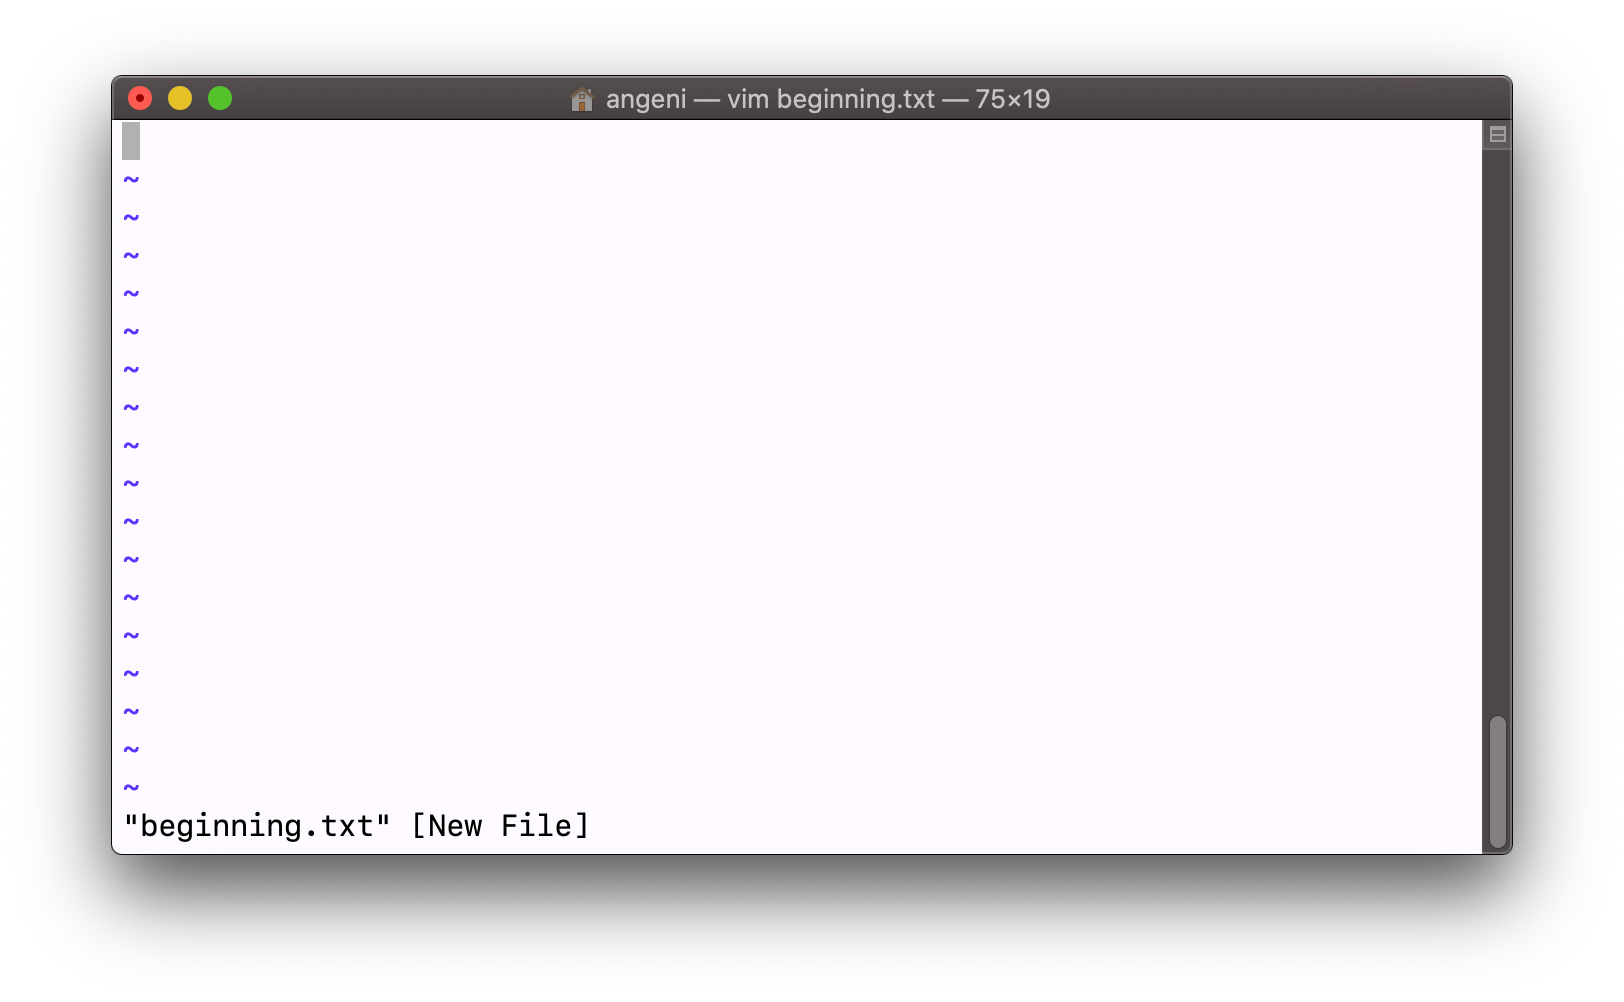
I've customised my Vim a little bit so it might look a little bit different to yours, but it should have the same basic elements on screen.
Now, do not press anything on your keyboard.
Too late?
Ok, all is not lost. Press the <Esc> key to undo whatever you pressed beforehand, until things look normal again.
And now it’s time for what has become a running joke in the Vim community: quitting. While opening a file was relatively intuitive, closing said file is not. But once you know, you know.
First, make sure that the bottom left of your terminal has either the name of your current file, or no text at all. If something else is written there, hit the <Esc> key until it disappears.
Then, type this:
:q
The command should show up on the bottom left of the window.
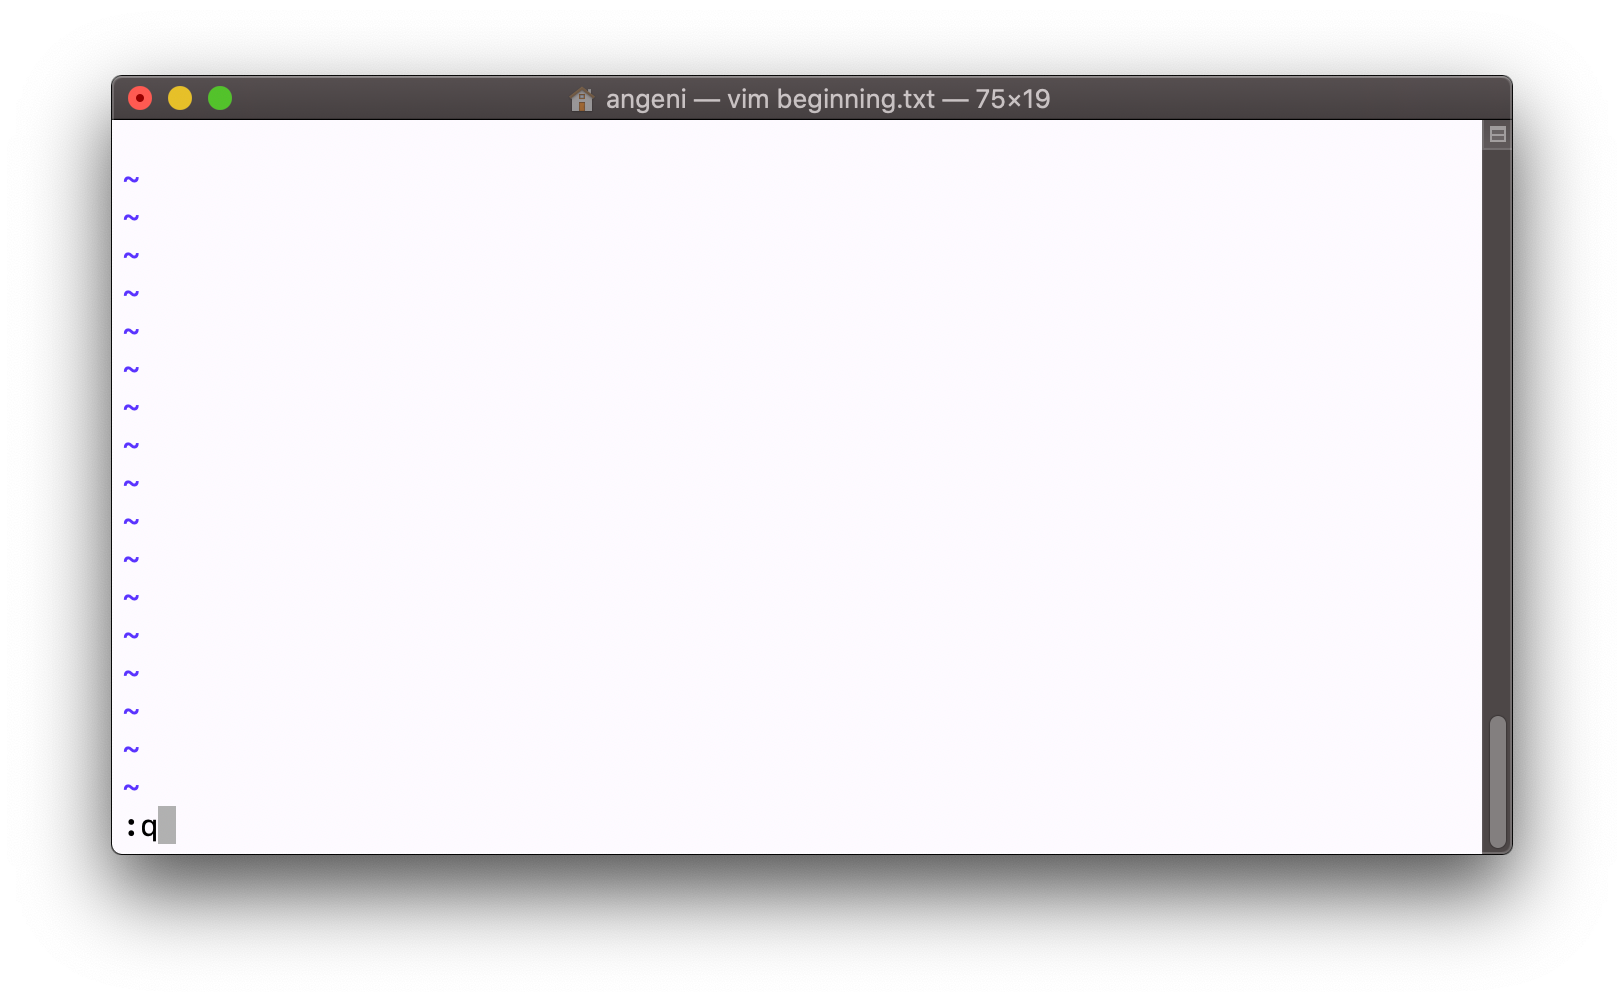
Now hit <Enter>. The terminal should now switch back into your working directory!
Vim's modes
Now as we get a little further into actually editing and saving files, we should also get a basic understanding of Vim’s modes. This is really what sets Vim apart from other text editors: separating functions like inserting text and navigating a file into separate modes allows us to do more things, more quickly.
If you open up any file (vim <filename>), you’ll find yourself first in normal mode. We’ll get into the details of normal mode soon, but first let’s get some text into this file!
Insert mode
Insert mode is exactly what it sounds like. It’s the mode in which you’re able to insert text (which is like the most important function of a text editor, right?).
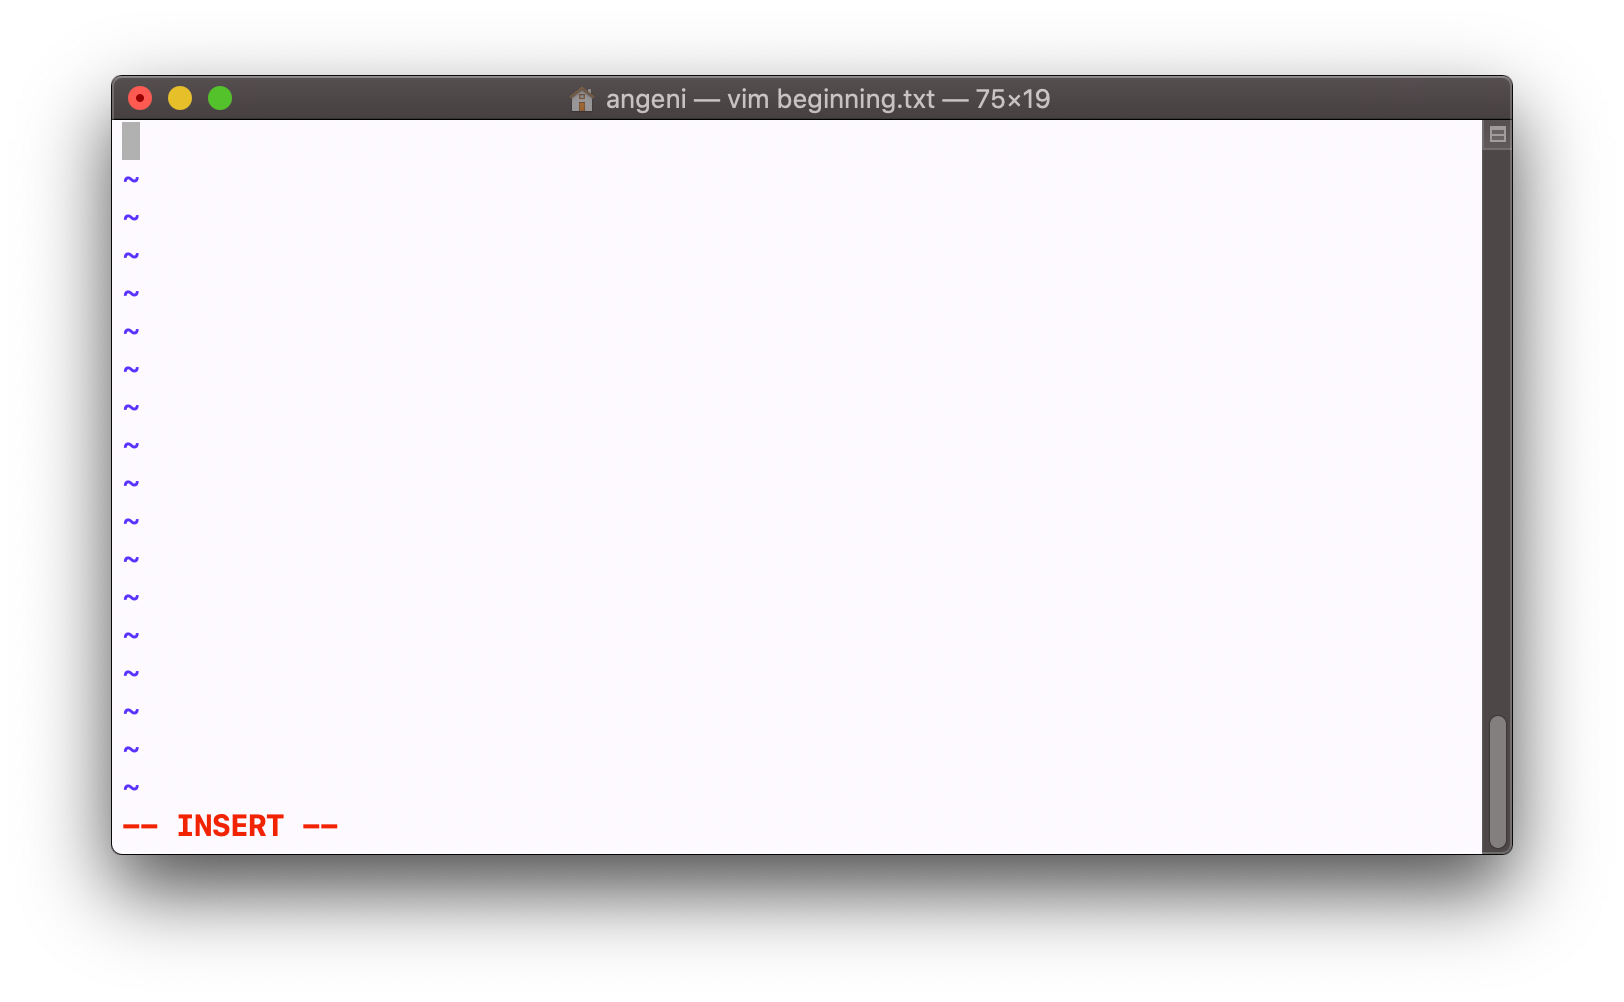
The easiest way to get into insert mode is by hitting the <i> key. When you do that, any text you type in will be inserted right before behind the cursor.
Now, when you’re happy with whatever you’ve typed into the file, just hit the <Esc> key to get back into normal mode.

Normal mode
Normal mode is the mode in which you'll be in to do things like navigation and search.
To navigate around a file, you’ll be using the <h>, <j>, <k> and <l> keys (regular arrow keys also work but are definitely less convenient). The keys correspond to these arrow keys:
- h → left
- j → down
- k → up
- l → right
A cool thing is that you can type in numbers before h/j/k/l so that you move by the corresponding number of characters/lines. So for example, if I type 10j, my cursor will move down 10 lines. And if I type 3l, my cursor will move to the right by 3 characters.
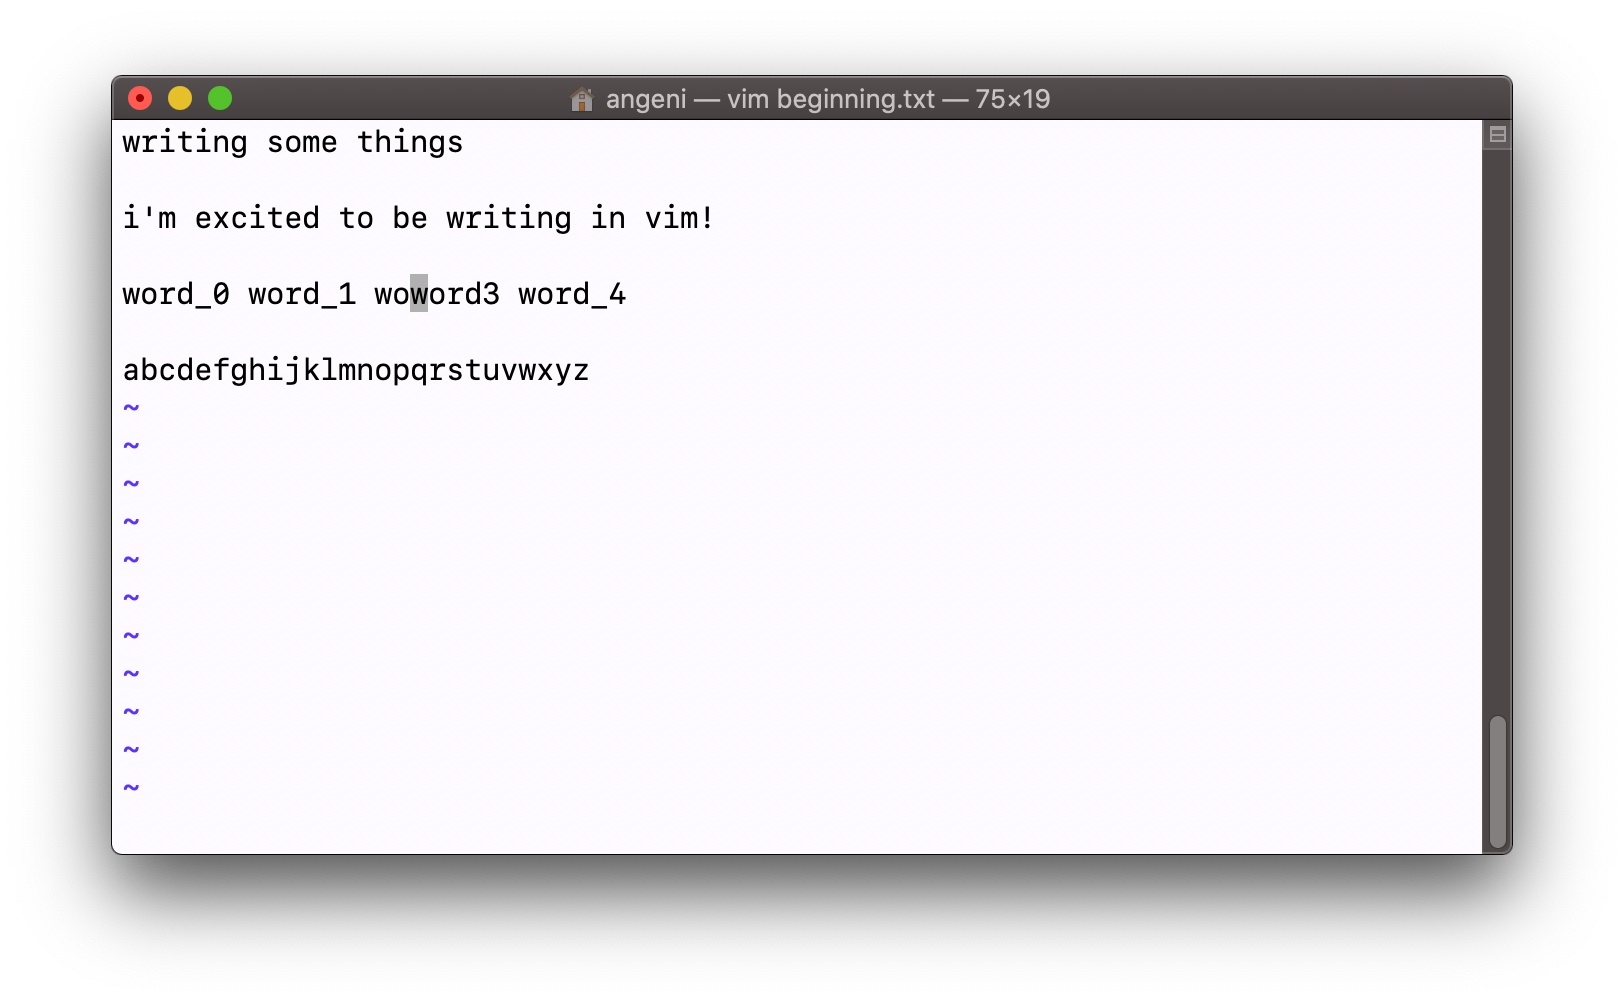
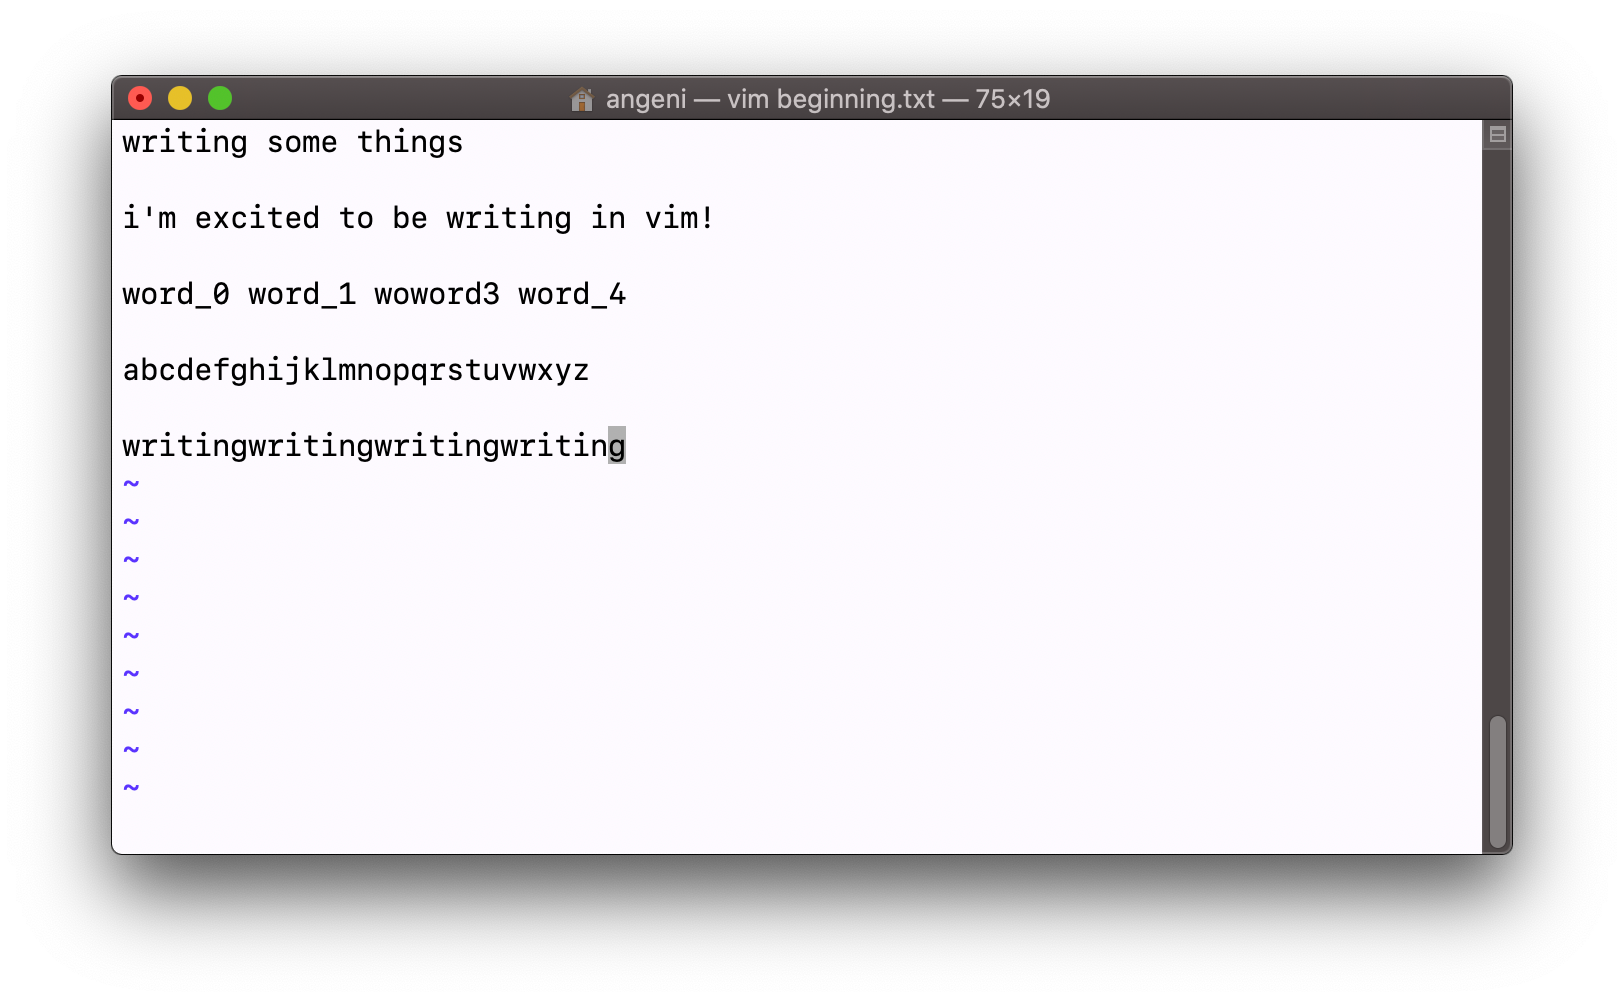
You can also delete parts of text (or all of the text !) from normal mode. The key <x> is used to delete the single character that the cursor is currently on.

Deleting larger chunks of text usually comes down to some variation of the <d> command. The command dw will delete the text between the cursor’s current position and the start of the next word.
It should also be noted that when you delete text from normal mode, the deleted text will be copied into the Vim clipboard. But we’ll talk more about the clipboard when we get into visual mode!
Visual mode
Another very useful mode is visual mode. While it’s not so obvious from the name, this is how you highlight and select text in your file.
You get into visual mode by hitting the <v> key.
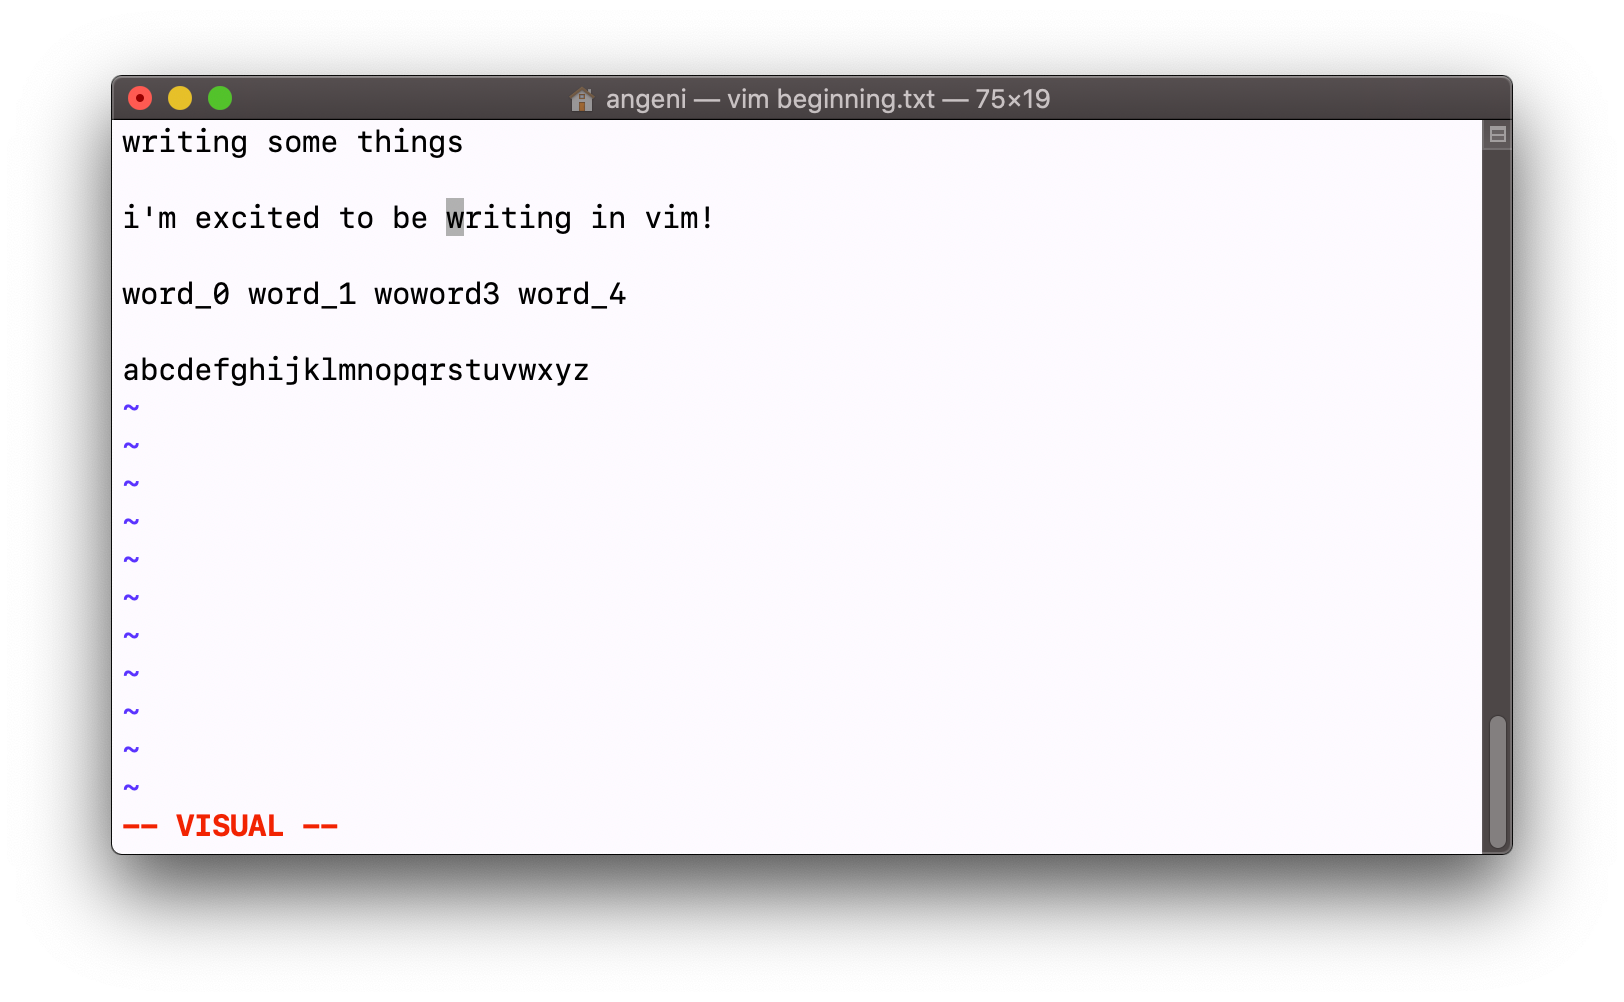
Now, when you use the normal navigation keys, you’ll see a highlighted section following your cursor around.
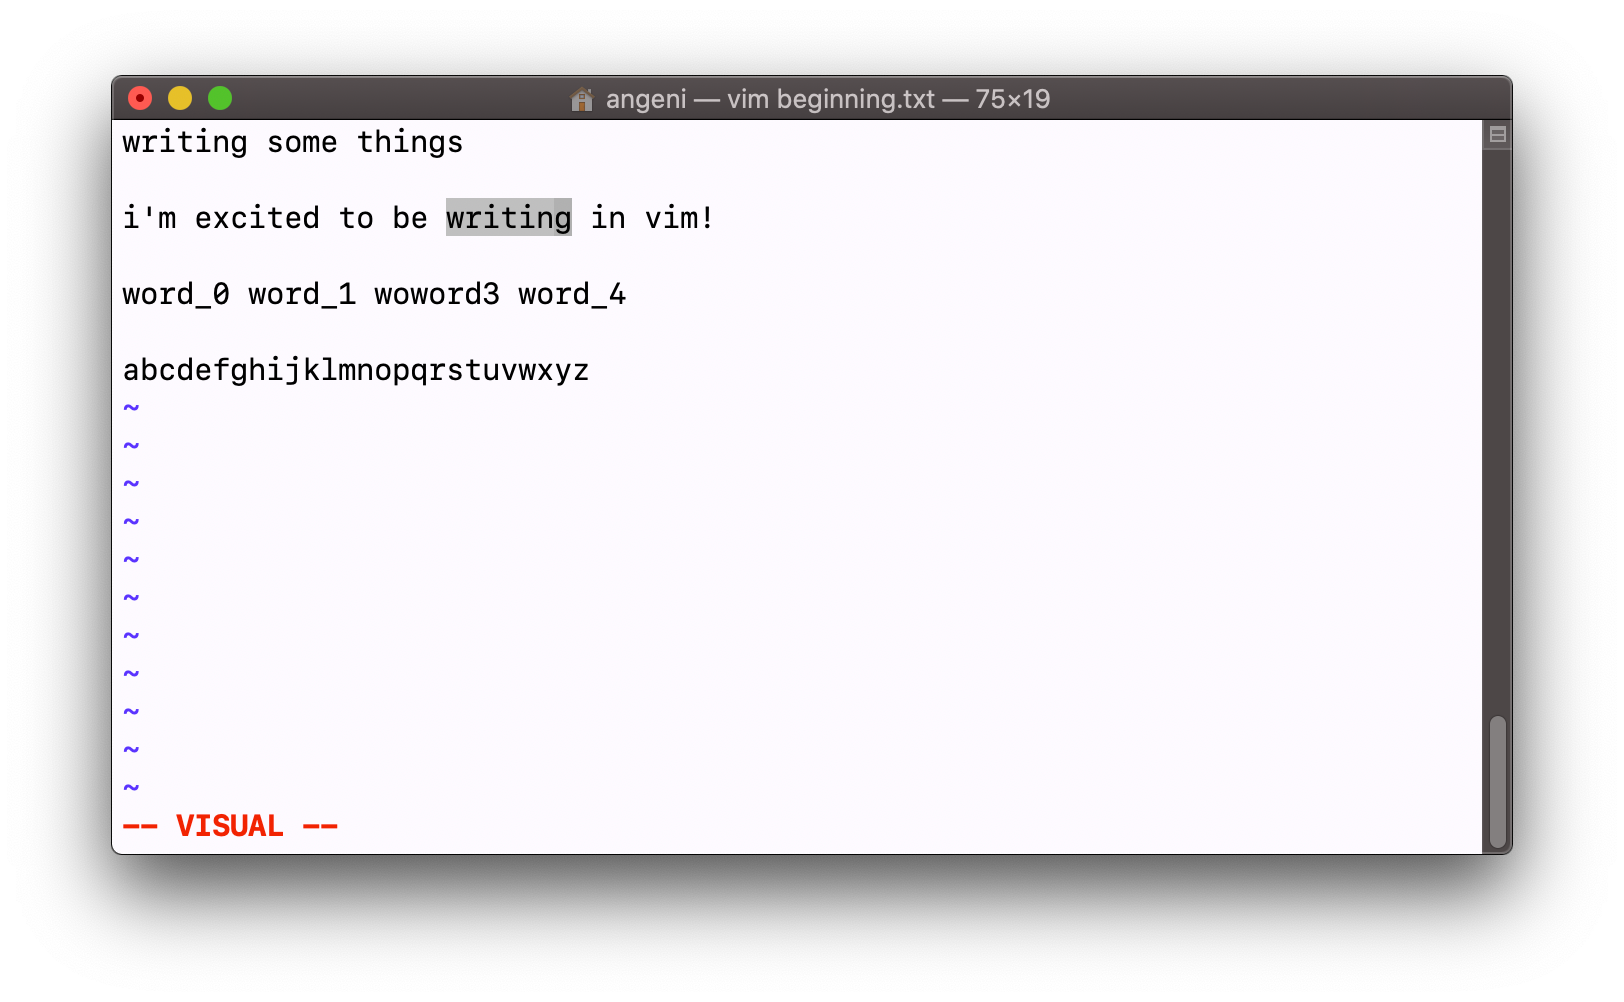
This is super useful for copying and pasting!
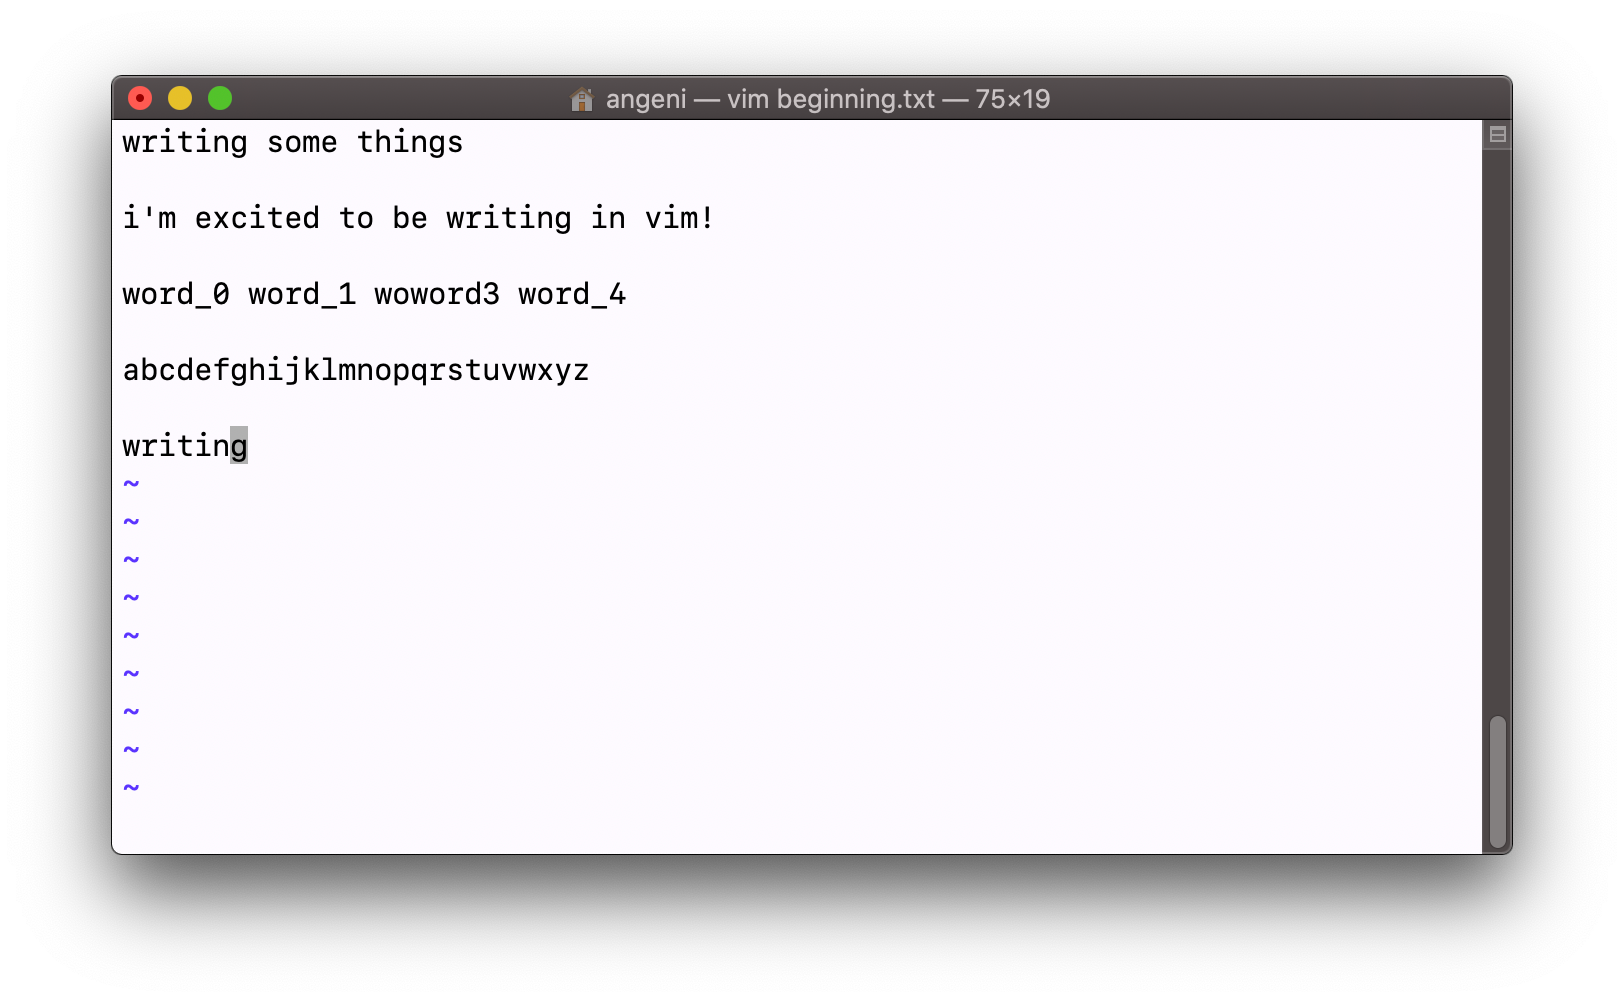
The command <y> is known as “yank”, but what it really does is that it copies whatever is currently being highlighted. Now to paste (officially known as put), hitting the <p> key will paste the most recent item in the Vim clipboard into the space after your cursor’s current position.
Alright, so you’ve got the basics to manipulate text. Now, we’ll just have to cover using find-and-replace, and actually saving the file! This is going to need command mode.
Command mode
Command mode is entered by hitting the <:> on your keyboard. Now, everything that follows makes up the command that will be run.
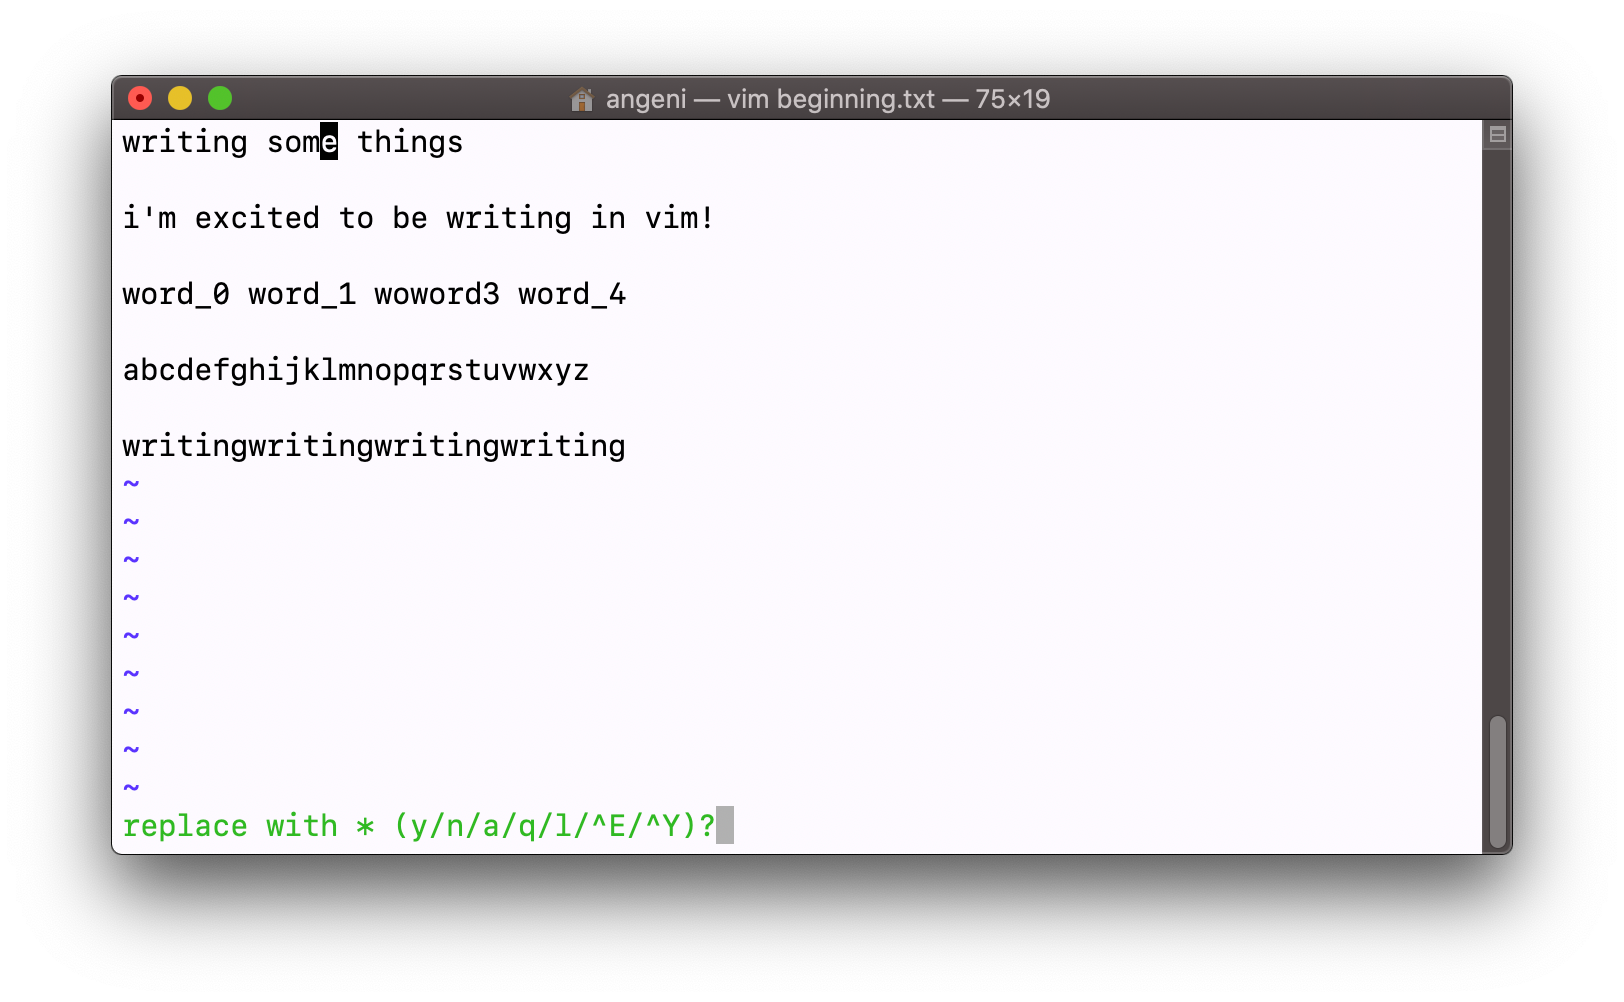
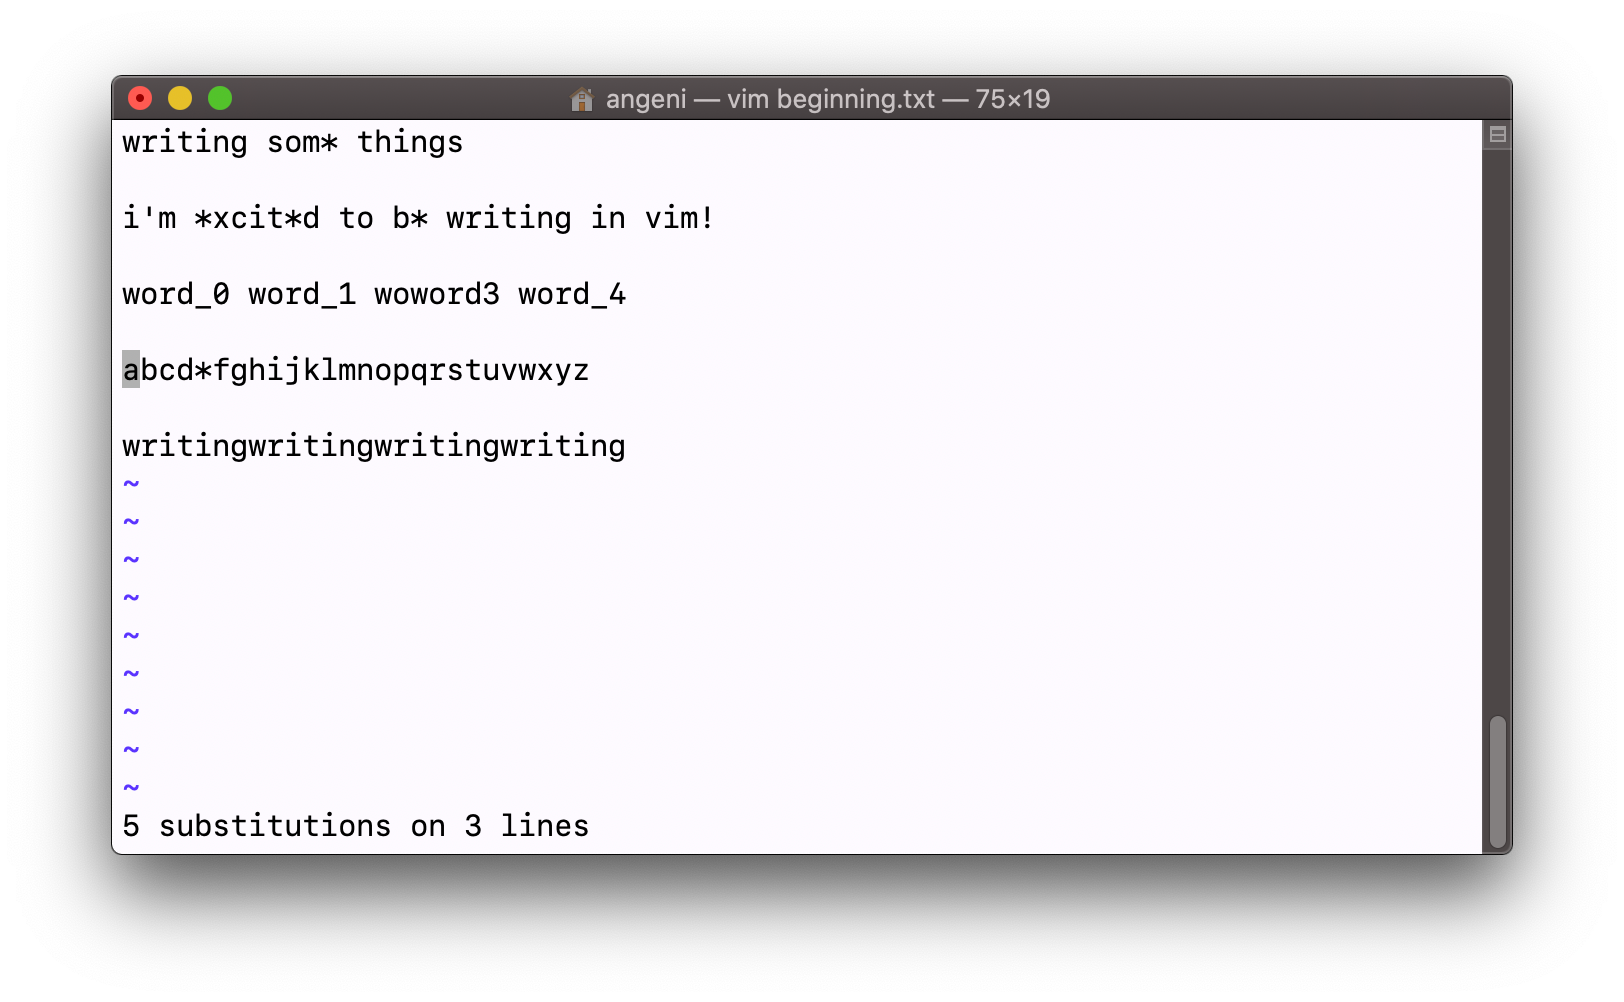
Find-and-replace is possibly my favourite command to use in Vim. Say I want to replace most ‘e’s in my text file with an asterisk ‘*’. I would type in this command:
:%s/e/*/gc
That’s quite a few components here, so let’s break it down!
- % means for all lines in the file
- s means substitute
- e is the original text
- * is the new text
- g means every occurrence of e is found in each line
- c means for every potential replacement in the file, you can type either 'y' or 'n' to accept or deny the replacement
Each of these commands (except s because that’s the substitute command) can be omitted or swapped with other commands to change the behaviour of the find and replace. But I’ll leave that up to you to investigate :)
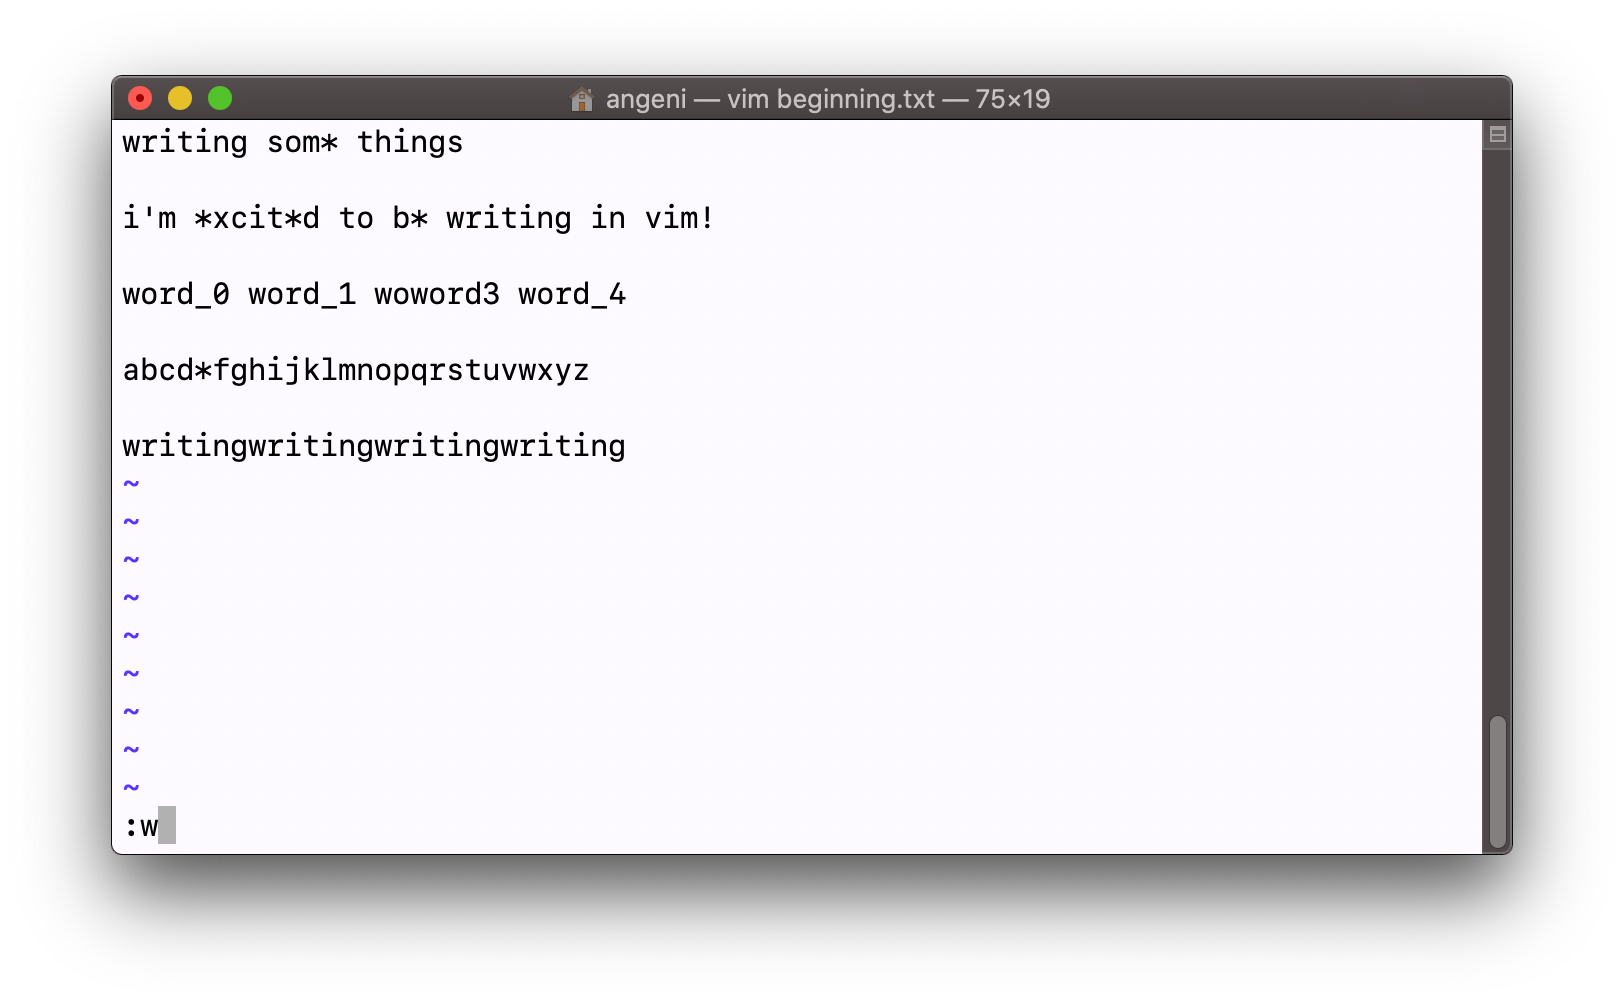
For now, we’re happy with our text file, so we can save it!
To save a file, we have to type :w. The ‘w’ here stands for ‘write’.
And to close that file (which you’ve done before!), simply type :q. In this case, the ‘q’ stands for ‘quit’.
Essential commands
So, you’ve successfully completed the basics of creating, writing and saving a file! But you might be thinking, how do I remember all the commands I just used? Well, it takes some time locking it into muscle memory, but I promise if you use Vim relatively regularly, they will become second nature to you.
In the meantime, there’s plenty of online cheat sheets to help you out! Except, I feel like even the cheat sheets have too many commands happening and it all gets a bit overwhelming. So I’ve narrowed it down to the 14 most essential commands to get you around the basic functions you need from a text editor.
Note: these commands are used in Normal mode unless otherwise specified.
Move cursor to the left/up/down/right
h/j/k/l
Insert text
i
This puts you into writing mode, inserting the cursor right before its current position.
Visual mode
v
Entering visual mode will allow you to highlight text by moving your cursor.
Yank
y
When in visual mode, copies (aka yanks) the highlighted text into your Vim clipboard
Copy to system clipboard
"+y
When in visual mode, copies the highlighted text into your system clipboard. This means you’ll be able to paste it into other apps on your computer.
Puts
p
Pastes (aka puts) whatever’s in your Vim clipboard in the space after your cursor.
Undo
u
Delete character
x
Deletes the character immediately under the cursor.
Delete word
dw
Deletes the remainder of the word from the current position of the cursor. Note: this will also add the deleted text into the Vim clipboard.
Move cursor to start of next word
w
Move cursor to the start of the previous word
b
Move cursor to the line number <n>
<n>g
Search for the next occurrence of specified <text> in the file
/<text>
When you press <Enter>, the next occurrence of <text> will be highlighted.
Search and replace
:%s/<old text>/<replacement text>/gc
Globally replaces every occurrence of <old text> in the file and replaces it with <replacement text>. The c option also means that the user will be prompted to confirm each change
You can access an article containing just these commands here. Feel free to bookmark it for easy reference later, or even better, start your own cheat sheet! And every time you think: hmm, Vim would be real nice if it had <insert useful function>, if you Google it, chances are someone’s written a tutorial on it.
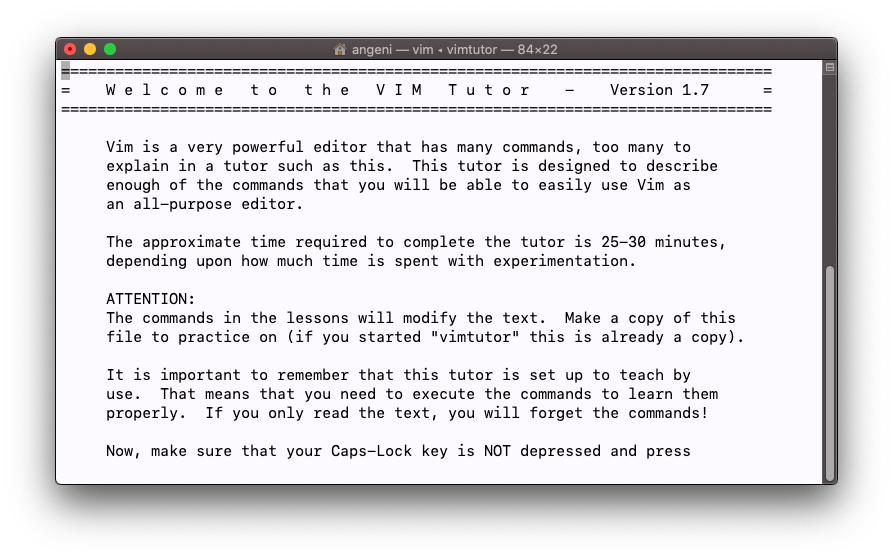
If a guided method of learning is more your speed, Vim also has its own interactive tutorial! You can access it by typing this in your terminal:
vimtutor
Next steps
So hopefully this article has presented to you a window into the ways in which Vim can streamline your typing experience, and in my opinion, make it more fun! To help you continue your Vim journey, there's also a couple handy resources linked at the end of this article.
So we've established that Vim is great and all, but if you’re like me, you can’t help but be caught up in the fact that it looks a bit basic. Well, look out for the next article, where I’ll take you through customising your editor to become both aesthetic and functional.
Handy resources
- 14 Essential Commands - the list from earlier in the article for easy reference on its own
- Vim Adventures - this super cute game helps you learn Vim commands step by step!
- Vim Cheat Sheet - a comprehensive reference of commands when you're ready to level up
- CSESoc Vim Workshop - a recording from pre-COVID days :')