
Beginner's Guide to Vim: The Aesthetics
Welcome to the second part of the Beginner’s Guide to Vim! In Part One, we covered the basic ways that you can navigate, insert text, and save a file in Vim. But it’s hard to ignore that the default editor has some... interesting... aesthetic choices.


Welcome to the second part of the Beginner’s Guide to Vim! In Part One, we covered the basic ways that you can navigate, insert text, and save a file in Vim. But it’s hard to ignore that the default editor has some... interesting... aesthetic choices.
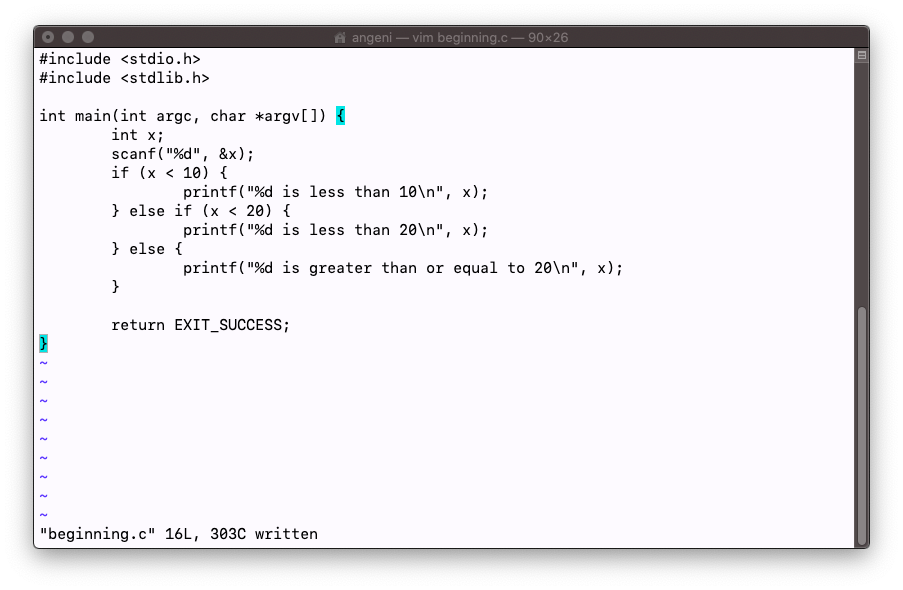
The text is plain black (or white if you're in dark mode), there's no line numbers to be seen, and the indentation is 8 (!) whole spaces. The good news is, each of these properties, and more, can be customised using a little file that goes by the name of .vimrc.
Creating .vimrc
The .vimrc file lives in your root directory, and contains all the custom settings that get applied when you open up Vim. If you’re familiar with VSCode, it’s kind of equivalent to the settings.json file.
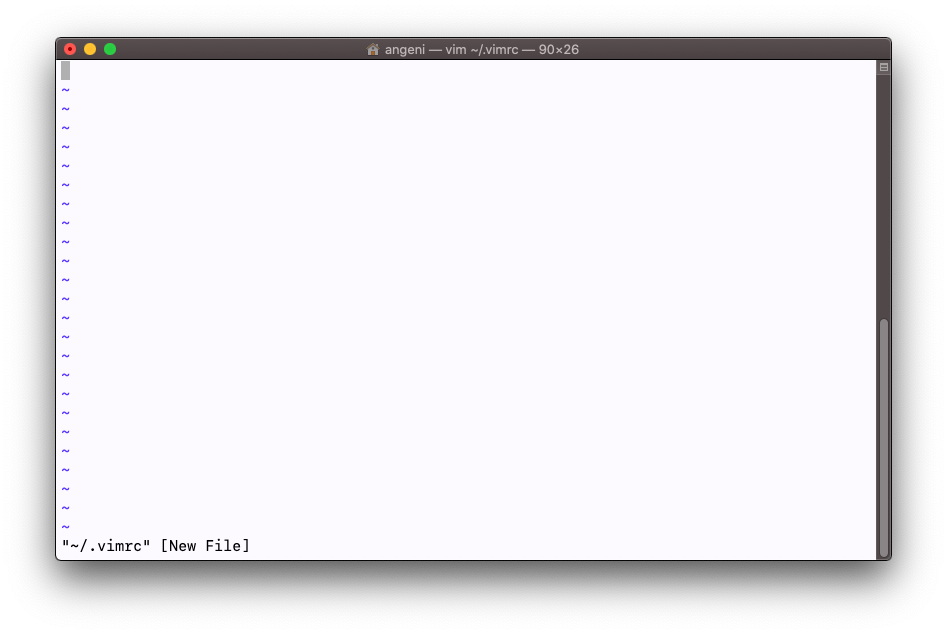
To open the .vimrc file from any directory, type this into your command line:
vim ~/.vimrc
If you’ve never opened this file before, it will be completely empty.
So let’s add our first setting using our new Vim skills!
For our first setting, we’ll be enabling syntax highlighting. If you think about it, isn’t that the most basic thing you need from a text editor? How else am I supposed to tell that elif isn’t a recognised statement in C?
Get into insert mode in your .vimrc file (just hit the <i> key).
And type this into your file:
syntax on
Hit <Esc> to get into Normal mode, and save and close the file (:w <enter> then :q <enter>).
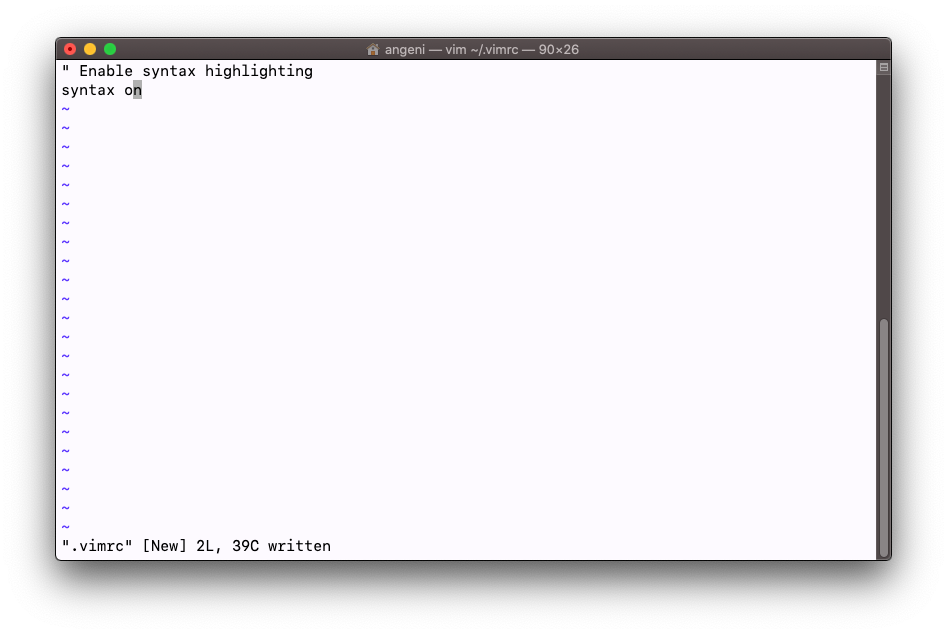
P.S. Putting a double quote (") will comment out the rest of the line.
Notice the changes haven't shown up yet. The changes will show up after you close the .vimrc file. So the next time you open something in Vim, you’ll be greeted with colourful letters!
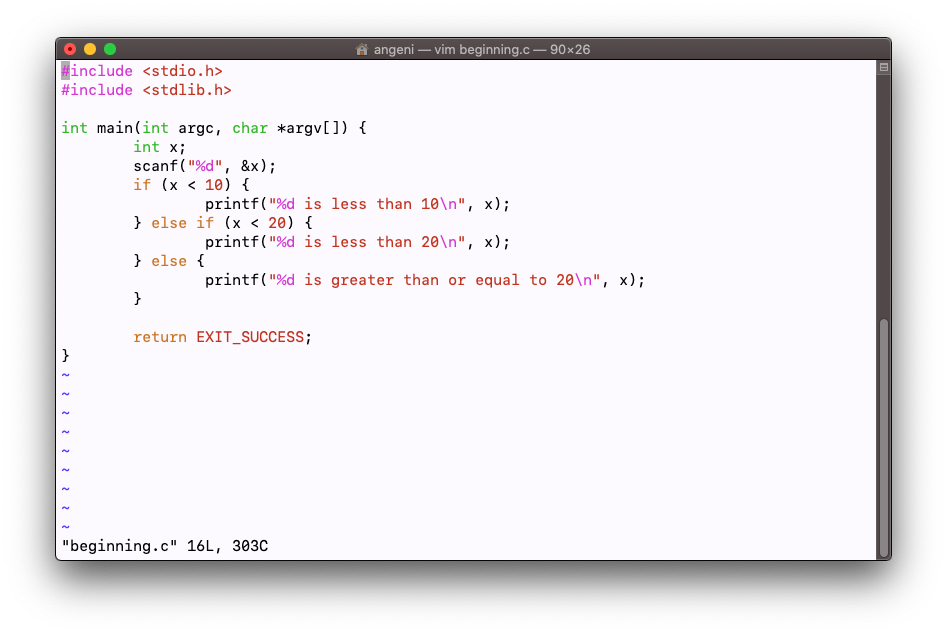
If you're thinking, hmm I'm not really a fan of these colours either, don't worry we'll get to fixing that soon :)
Just like Vim commands, there’s no way I’d be able to introduce you to every possible customisation in .vimrc. But, I can go through the ones I’ve found the most handy, and these should be a great starting point to begin your own experimentation!
Enabling mouse
There's no denying it, Vim is notorious for having a steep learning curve. Mostly because you have to train your hands to do everything from the keyboard. But what if I told you that you could in fact use your mouse?
The setting is:
set mouse=a
While some purists might be coming at me with pitchforks, I think of it like training wheels. If you're in a rush, you don't want to be looking up how to jump to the bottom of the file (which is <G>, by the way), or highlight the next four lines of code. Instead, you can always fall back to the mouse, which will let you do basic things like scrolling, and highlighting text.
More colours !
I would argue that the second most important part of a text editor is the colour scheme. And the good news is that Vim comes with plenty you can choose from. Before you decide on one, you can even try out all the ones available.
Get into Normal mode by hitting <Esc>, and then command mode by typing in:
:colorscheme
You can't see it above, but there's also a space character at the end.
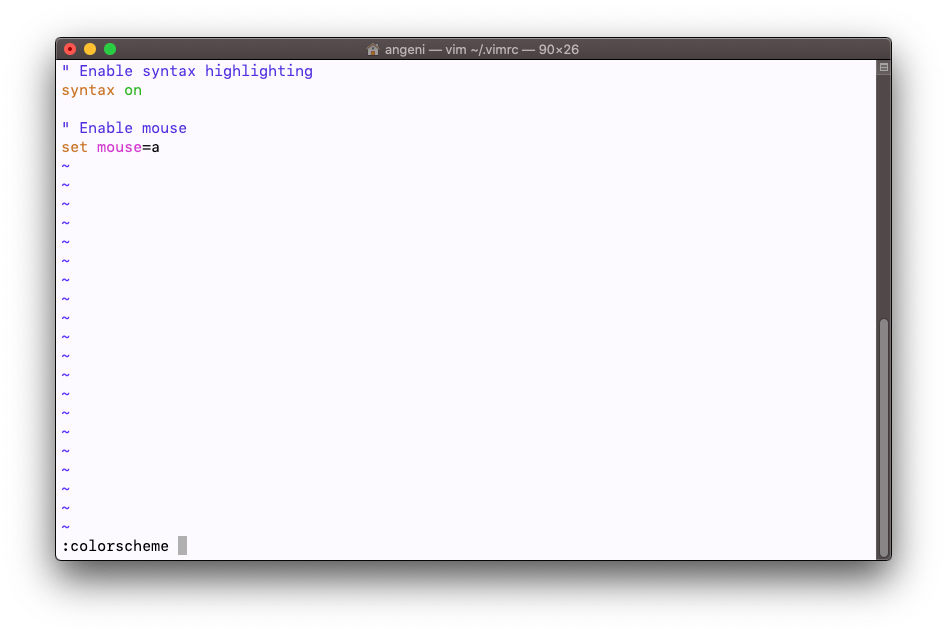
Now hit <Tab>, and you’ll see that the command autocompletes with the first theme.

Hit <Enter> to test out the colour scheme.
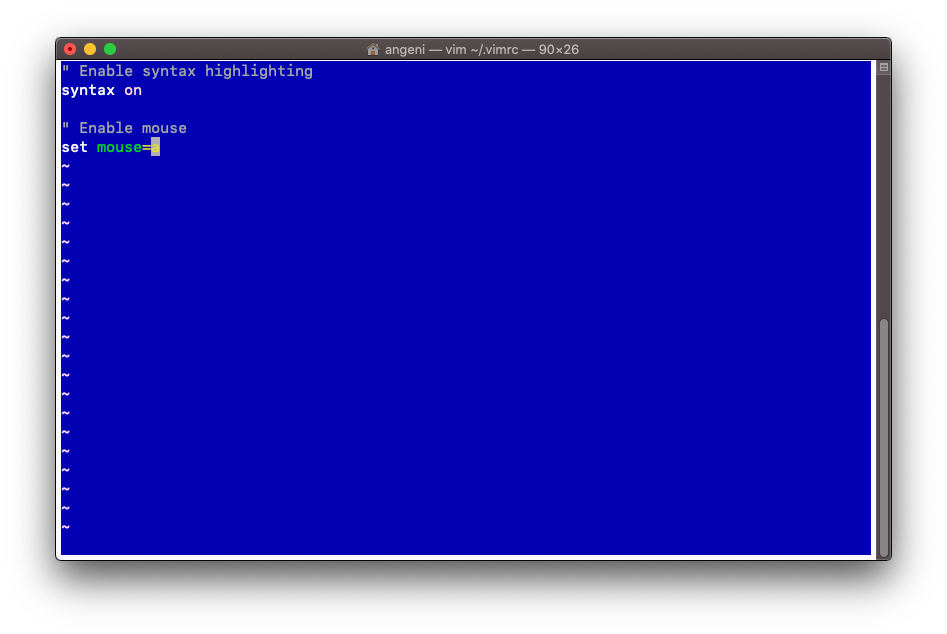
If this isn’t really to your taste, we can try a new one! Do the same thing with typing in <:colorscheme >, and then hit <Tab> twice. Each time you hit <Tab>, it autocompletes the next available theme, and you can cycle through them all until you find one you like.
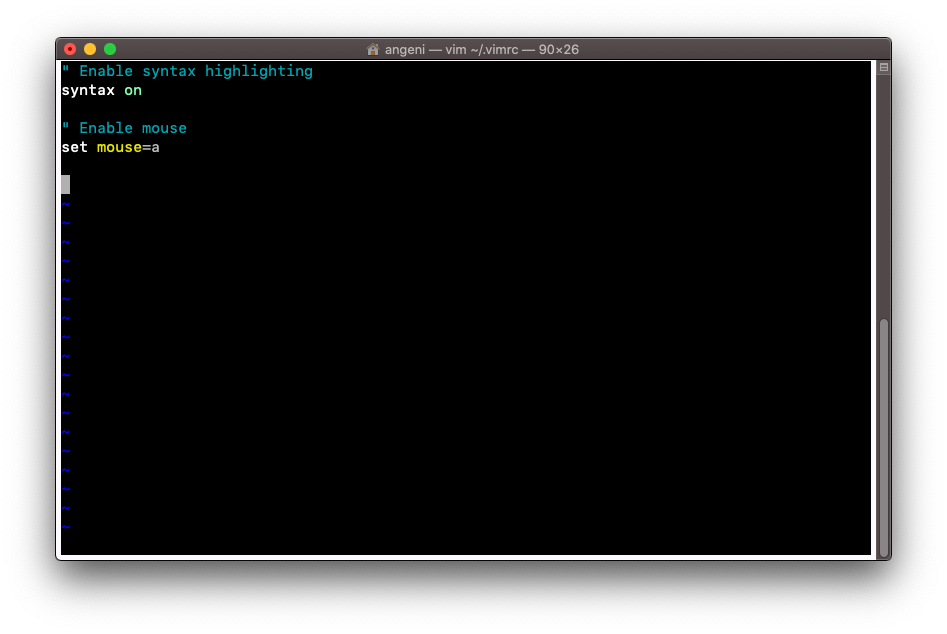
Setting the colorscheme in this way is completely temporary, and the colours will disappear next time you open something in Vim.
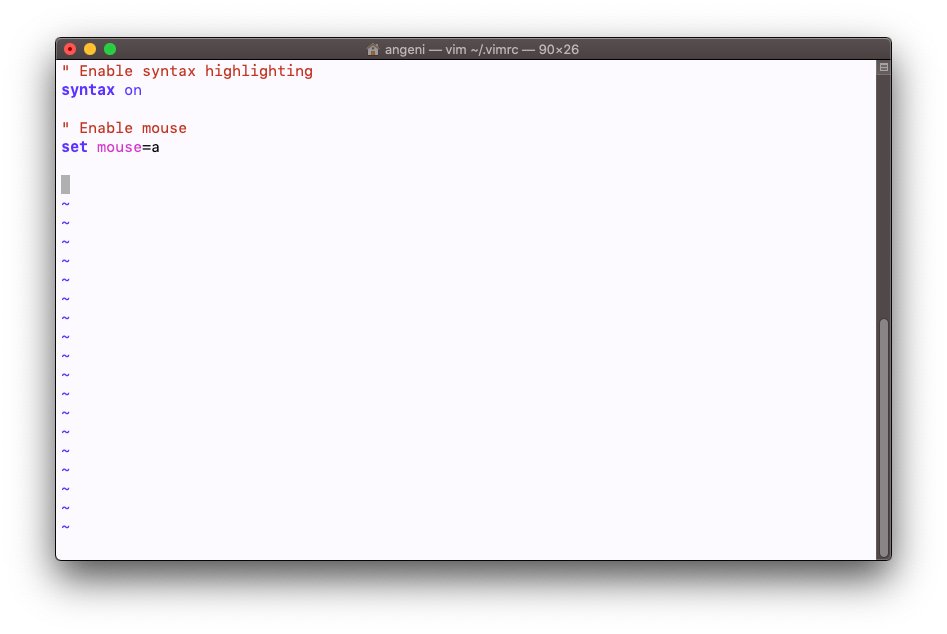
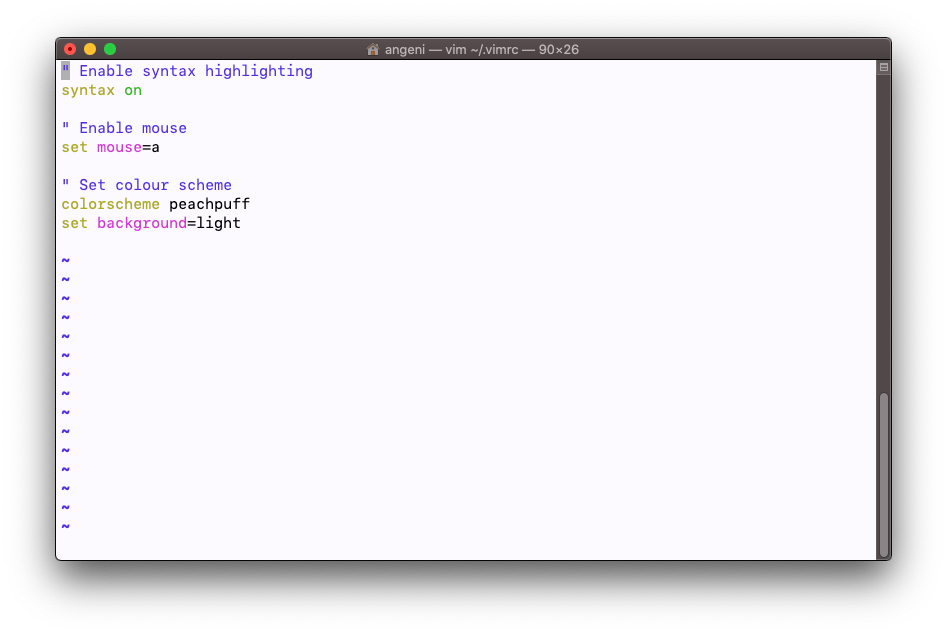
However, say I'm a personal fan of Peachpuff, and I want it to become my new default theme. I just need to type this into the .vimrc file:
colorscheme peachpuff
Also, confession: I prefer light mode when I’m coding. So I force Vim to always be in light mode using this setting:
set background=light
Of course, if you prefer the dark side, you can just type in this instead:
set background=dark
And if the default Vim themes weren’t enough, you can also download custom colour schemes! But that could be a whole article on its own…
Indentation
Hitting <Tab> multiple times with every new line can get pretty annoying, especially if you’re four levels deep into an if statement. So we can turn on automatic indentation like this:
set autoindent
Now let’s address Vim’s crazy 8-space indentation. We can set the number of spaces in each indentation using shiftwidth:
set shiftwidth=4
Personally, I also set it so that every time I hit <Tab>, I’m inserting four spaces instead of an actual Tab character. I think there’s some old flame war between tabs and spaces, but all I can say is that this has never caused any weird issues for me. To do this, we type in:
set expandtab
If we have programs written by other people which use tabs, we want to make sure that they match the number of spaces with the rest of the code. The tabstop setting decides how many spaces a <Tab> shows up as:
set tabstop=4
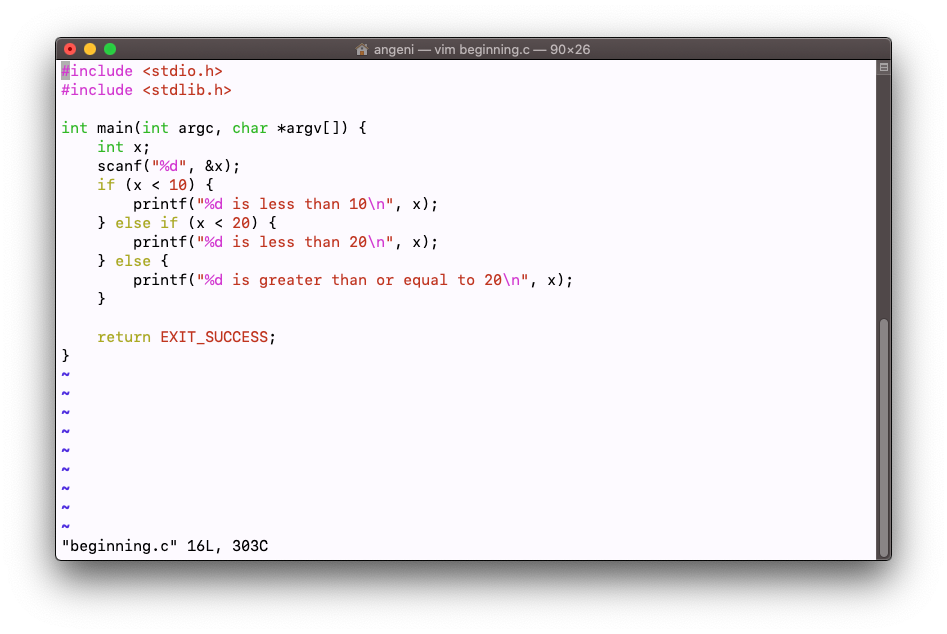
Now, if we go back to our C file, things should look much more reasonable.
Figuring out where you are on the page
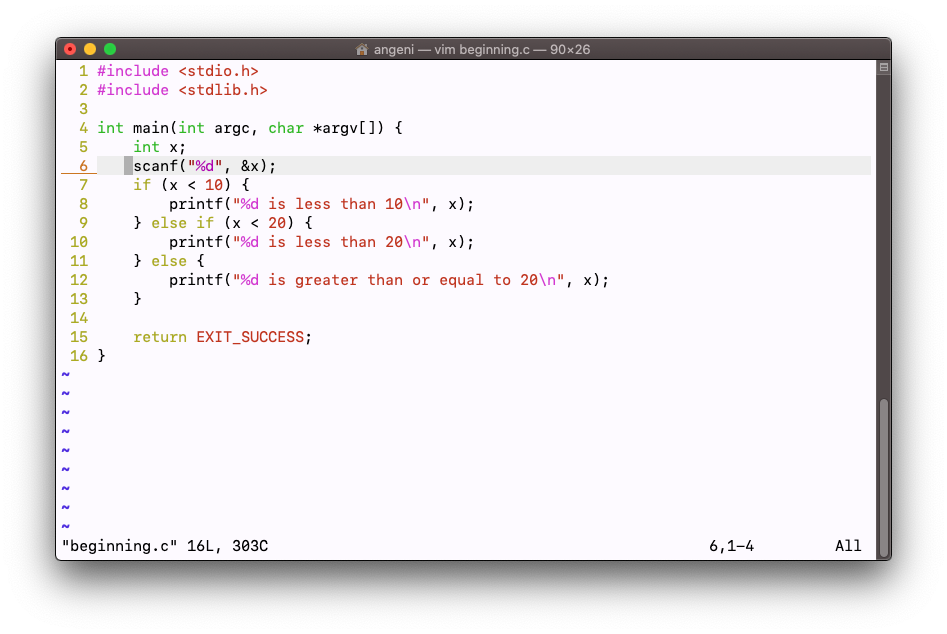
When dcc tells me that I’ve got an error on line 373, I would very much like to know where that is. So I turn on line numbers like this:
set number
I can also tell where I am in the line, and how many characters are in a file using the ruler:
set ruler
The ruler shows up at the bottom-right of the screen and looks like this:
The first number is the line number, and the second number is the column number of your cursor.
I'm also very prone to losing my spot in the file, and the block cursor can sometimes be hard to find (or it's just my eyesight). Either way, highlighting the line your cursor is currently on is super useful!
set cursorline
hi cursorline cterm=none ctermbg=255 guibg=#eeeeee
The result:
So to break down what these settings are doing, the first line enables the cursor line highlighting. Then, the second line is configuring its colour.
- cterm - the default line highlight is really just a line underline. Setting cterm to zero removes the underline.
- ctermbg - changes the background colour of the current line. 255 is a nice grey colour.
- guibg - does the same thing as ctermbg, but this ensures that colours stay the same even if certain terminals might interpret the ctermbg colour differently.
Miscellaneous
I wasn't really sure where to fit this, but there's also a setting to enable text wrapping:
set wrap
This saves you from having to scroll sideways heaps if you've got a particularly long line of code (though, why would you if you're following the style guide...).
Next steps
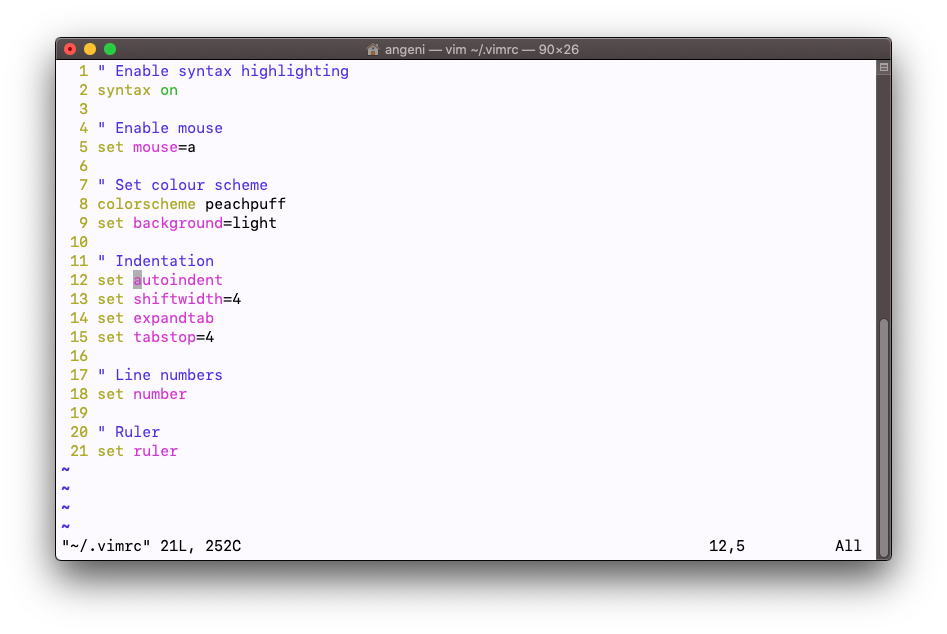
Alright, so we made it! If you've followed along the whole way through, this is what your full .vimrc file should look like:
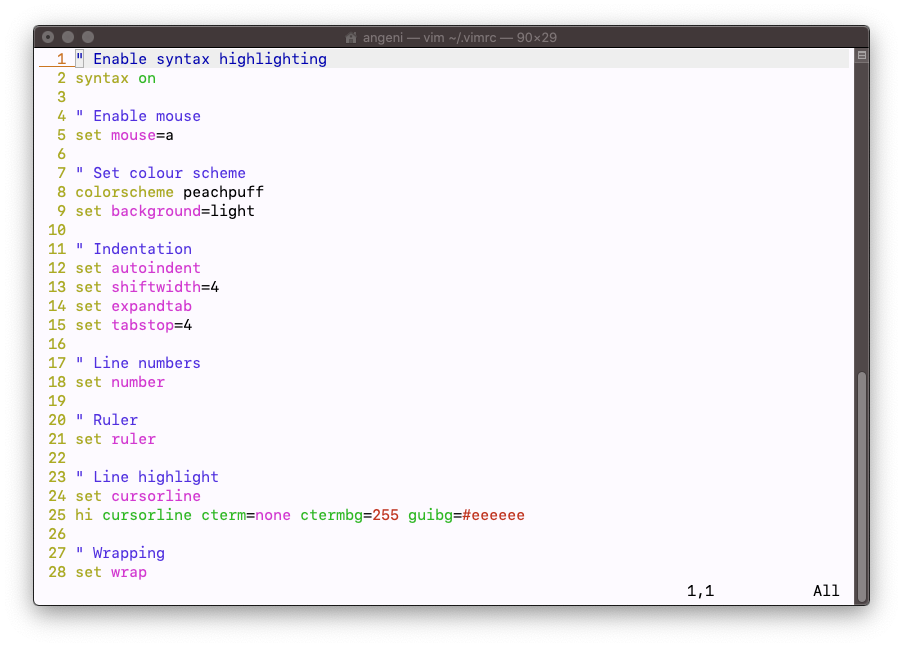
For me, these are the minimum configurations I need in order to enjoy using Vim. Did I miss anything?
As always, if you ever think: gee, it would be cool if Vim could look like <this>, an answer is just a Google away.
This also wraps up the Beginner's Guide to Vim series! Hopefully, these guides give you a reason to try and experiment with Vim for yourself. The beauty of this editor is that every detail is customisable, and there's probably a three keystroke command for anything that you would want to do. With so many possibilities, I encourage you to go out and search for the settings and commands that will make your life easier.